Keurig coffee makers have become a staple in homes and offices across the globe, praised for their convenience and consistent results. But, like any frequently used kitchen appliance, they require regular maintenance to keep them functioning at their best. Among the most critical tasks is descaling, which not only extends the life of your coffee maker but also ensures your morning cup of coffee tastes as delicious as intended. In this comprehensive guide, we’ll cover everything you need to know about how to descale your Keurig, from the signs that it’s time to descale, to a step-by-step process, and even tips to prevent scale build-up in the future.
Understanding Scale Build-up
Scale, or mineral build-up, is a common issue in many household appliances that use water, especially in areas with hard water. It’s primarily composed of calcium and magnesium and can significantly hinder your coffee maker’s performance over time. Not only can scale build-up affect the taste of your coffee, but it can also lead to slower brewing times and even damage the machine if left unchecked.
Signs It’s Time to Descale Your Keurig
Before we dive into the descaling process, it’s essential to recognize the signs indicating that your Keurig is in dire need of descaling:
- Slower Brewing Times: If you notice that it’s taking longer than usual for your coffee to brew, this could be a sign that scale is interfering with the water flow.
- Off-Tasting Coffee: Scale build-up can also affect the taste of your coffee, making it taste bitter or off.
- Keurig Indicates It: Many newer Keurig models have a descaling indicator light that will alert you when it’s time to descale.
- Irregular Coffee Temperatures: If your coffee isn’t as hot as it used to be, scale build-up could be affecting the heating element.
Step-by-Step Guide to Descaling Your Keurig
Descaling your Keurig is a simple process that can be done with either a commercial descaling solution or a DIY mixture of white vinegar and water. Here’s how:
What You’ll Need
- A large ceramic mug (do not use a paper cup)
- Access to a sink
- Keurig descaling solution or white vinegar
- Fresh water
The Descaling Process
- Preparation: Start by powering off your Keurig and unplugging it. Remove any K-cup pods, the water reservoir, and the drip tray to clean them separately.
- Mix the Solution: If using the Keurig descaling solution, follow the instructions on the bottle. For a DIY solution, mix equal parts of white vinegar and water in the reservoir.
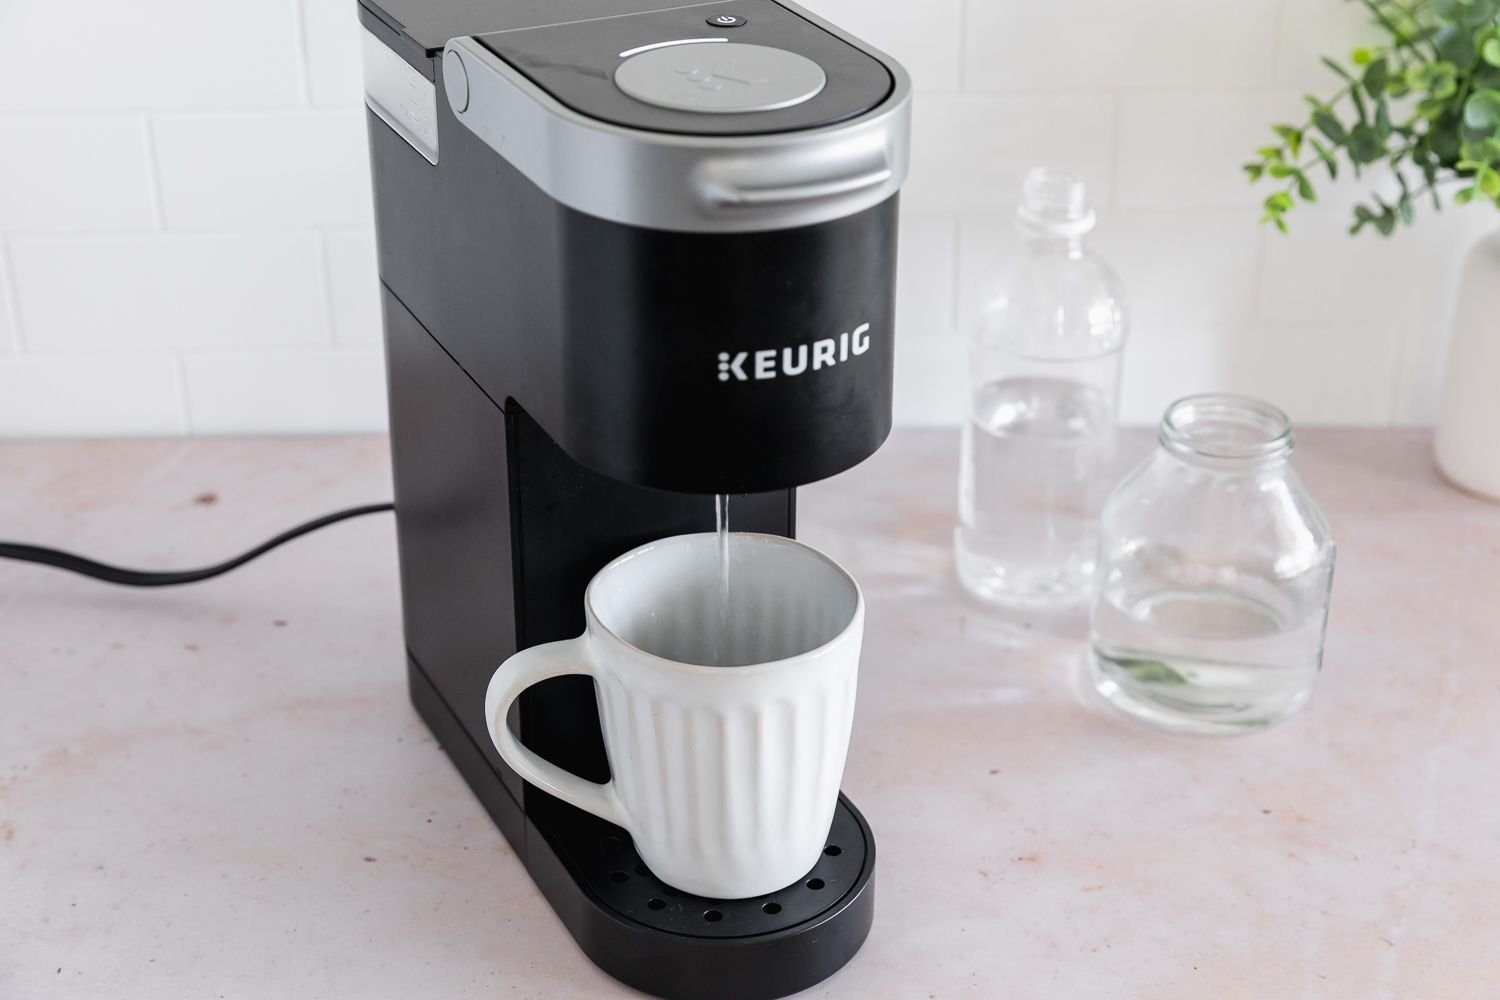
- Fill and Run: Place the ceramic mug on the drip tray. Fill the reservoir with your descaling solution, then turn on the Keurig. Select the largest cup size setting and run the brewing cycle several times until the reservoir is empty, discarding the mug’s contents each time.
- Let It Sit: Once you’ve emptied the reservoir, let the Keurig sit turned on for at least 30 minutes with the solution still inside. This allows the descaling solution to work its magic.
- Rinse Thoroughly: After the wait, refill the reservoir with fresh water and run the brewing cycles again until the reservoir is empty to remove any lingering descaling solution. You may need to refill and empty the reservoir multiple times to ensure all the solution is rinsed out.
- Wipe Down and Reassemble: With a damp cloth, wipe down the machine’s exterior and any parts you removed earlier. Reassemble your Keurig, and it’s ready for use.
Tips for Preventing Scale Build-up
While descaling is a necessary part of Keurig maintenance, there are measures you can take to minimize scale build-up:
- Use Filtered or Bottled Water: Hard water is the primary cause of scale, so using filtered or bottled water can significantly reduce build-up.
- Regular Maintenance: Even if you don’t see signs of scale, it’s a good practice to descale your Keurig every 3 to 6 months.
- Water Softening Solutions: If you live in an area with exceptionally hard water, consider investing in a water softener for your home.
Conclusion
Descaling your Keurig coffee maker is an essential maintenance task that shouldn’t be overlooked. Not only does it ensure your machine continues to operate efficiently, but it also guarantees that your coffee tastes as good as it should. By following the steps outlined in this guide and adhering to regular maintenance schedules, you can enjoy delicious coffee from your Keurig for years to come. Remember, a little care goes a long way in preserving the life and performance of your Keurig.
FAQs on Descaling Your Keurig Coffee Maker
1. How often should I descale my Keurig?
It’s recommended to descale your Keurig every 3 to 6 months, depending on the hardness of the water you use and how frequently the coffee maker is used. Regular descaling helps maintain optimal performance and coffee quality.
2. Can I use any vinegar for descaling?
While white vinegar is recommended due to its acidity and non-toxic nature, cleaning vinegar can also be used as it’s slightly more acidic and effective at breaking down mineral build-up. However, avoid using apple cider vinegar or other flavored vinegars, as they can leave residues and odors behind.
3. Is it safe to descale my Keurig with vinegar?
Yes, it is safe to descale your Keurig with a solution of equal parts white vinegar and water. Vinegar is a natural, non-toxic cleaning agent that effectively removes scale without harming the machine. Ensure to thoroughly rinse the machine with water after descaling to remove any vinegar taste.


